
A smart mirror isn’t just a futuristic concept anymore — it’s a sleek tech upgrade for any modern home. Powered by a Raspberry Pi and open-source software, a DIY smart mirror can display time, weather, calendar events, news, and more, all on a two-way mirror while still functioning as a regular mirror. This step-by-step guide will walk you through everything you need to build your own smart mirror, from hardware selection and software setup to optional upgrades and smart home integrations.

What You’ll Need
Here’s a list of essential parts for your DIY smart mirror project:
- Raspberry Pi 4 (or 3B+) with power supply, case, microSD card (16GB+)
- Two-way mirror acrylic sheet or smart mirror glass (same size or larger than your monitor)
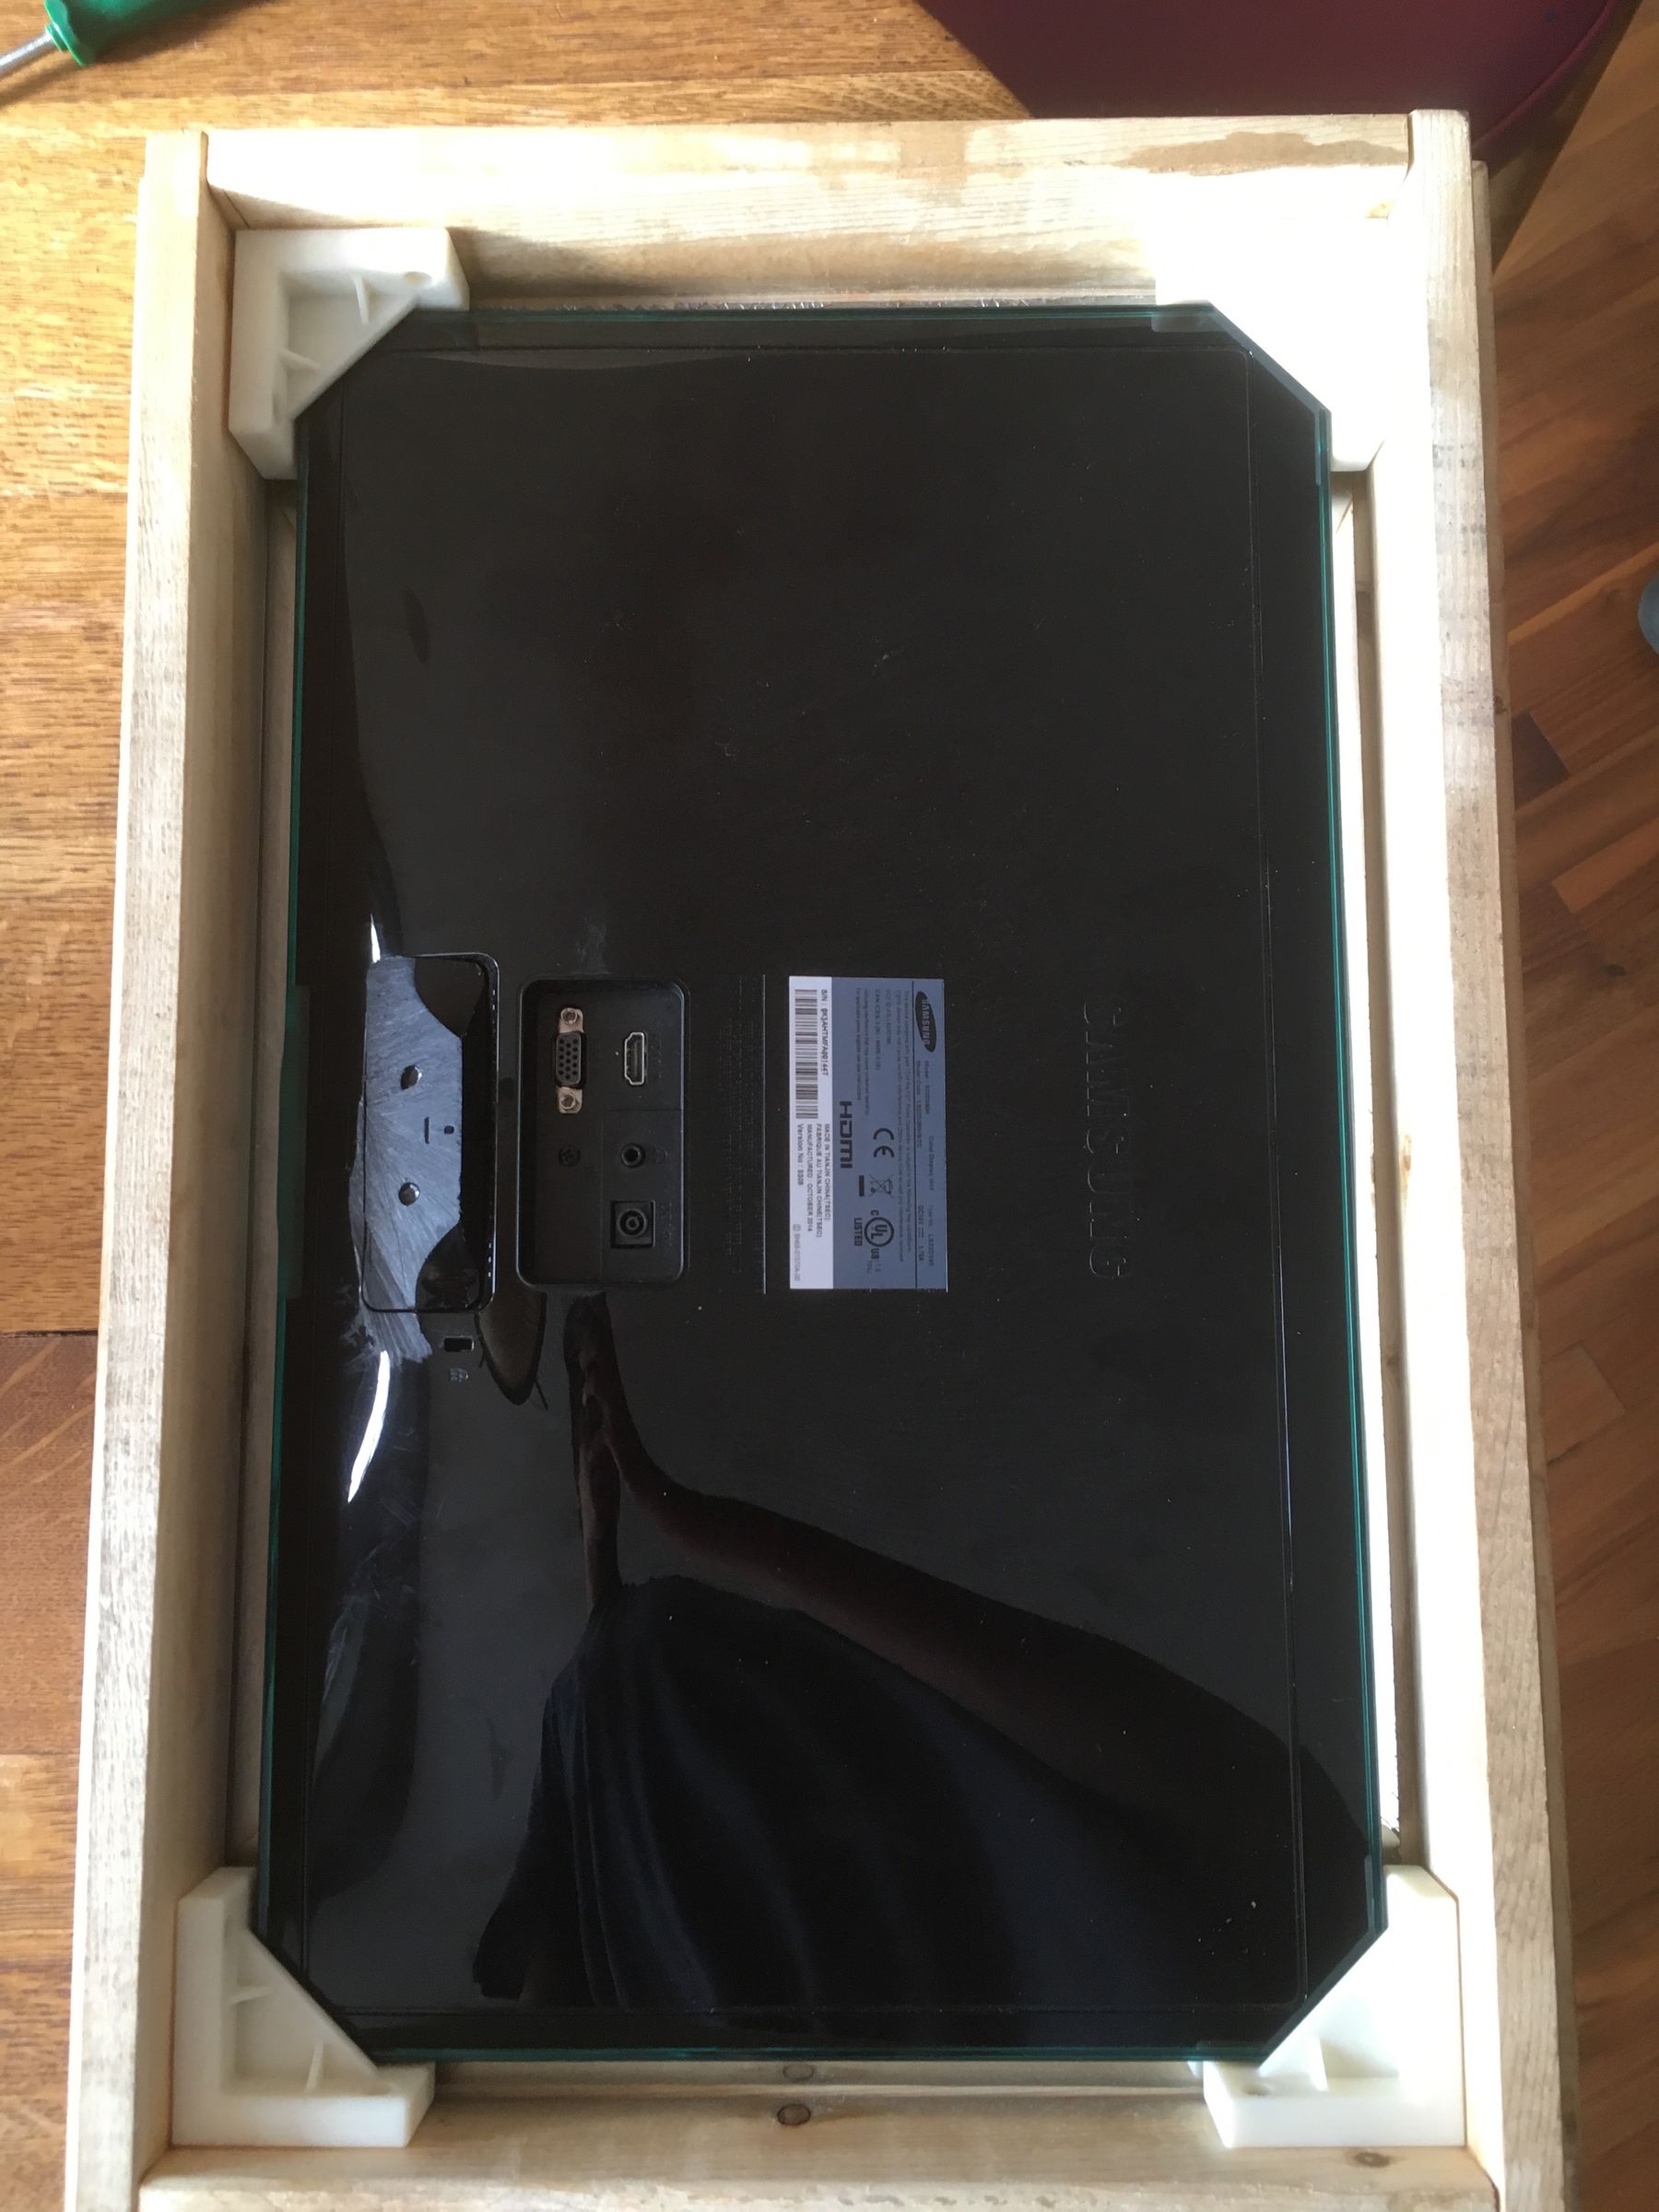
- HDMI monitor or thin LCD screen (used or recycled is fine)
- Wooden shadow box frame or custom frame with 2-3″ depth
- HDMI cable (micro-HDMI to HDMI if using Pi 4)
- USB keyboard & mouse for setup
- Wi-Fi connection or Ethernet cable for initial config
- Mounting tape, brackets, wood glue, black paint or vinyl for finishing

Step 1: Prepare the Raspberry Pi and Install MagicMirror²
Download Raspberry Pi OS (Lite or Desktop) and flash it to the microSD card using the Raspberry Pi Imager. Boot up your Pi with a keyboard, mouse, and HDMI display, then connect it to Wi-Fi and update your packages:
sudo apt-get update && sudo apt-get upgrade -yThen install MagicMirror² using this command:
bash -c "$(curl -sL https://raw.githubusercontent.com/MichMich/MagicMirror/master/installers/raspberry.sh)"Once installed, MagicMirror² will boot into a clean UI with default modules (clock, compliments, newsfeed). We’ll customize it later.
Step 2: Build and Assemble the Frame
Create a wooden shadow box-style frame deep enough to fit your monitor and Pi behind the two-way mirror. Fit the mirror into the frame first. Behind it, mount the monitor with L-brackets, glue, or 3D-printed clips. Center it so it’s fully hidden behind the reflective area. Secure the Raspberry Pi behind the monitor or along the frame’s interior wall.
Paint or cover the back side of the mirror with black vinyl — leaving only the screen area uncovered — to enhance the mirror effect and hide gaps.
Step 3: Configure MagicMirror Modules
Edit ~/MagicMirror/config/config.js to add or customize modules. Example modules:
- Weather module: add OpenWeatherMap API key
- Calendar module: add your iCal/Google Calendar feed
- Compliments module: customize your own daily affirmations
- Newsfeed module: choose your favorite news source
You can also explore the MagicMirror community for modules like Spotify, traffic, facial recognition, and smart home integrations (like Home Assistant).
Check out our guide on turning an old tablet into a Home Assistant dashboard if you’re interested in smart home control interfaces.
Step 4: Power Up and Final Touches
Once mounted, plug in the Pi and monitor. Set MagicMirror to autostart using pm2 or your preferred method. Mount the smart mirror on the wall using appropriate brackets or screws. For extra wow factor, consider adding LED backlighting or a motion sensor that turns on the mirror when you approach.
Optional Upgrades
- Motion sensor: add a PIR sensor to turn the screen on/off
- Voice assistant: integrate Alexa or Google Assistant for hands-free queries
- Touchscreen overlay: add a capacitive touch foil or IR frame
- LED backlighting: use RGB strips for ambiance
If you’re exploring smart lighting, don’t miss our roundup of smart ambient lighting kits for 2025.
Conclusion
You’ve now built a personalized, futuristic mirror that integrates seamlessly with your digital life. Whether you mount it in your entryway, bathroom, or bedroom, it’s sure to become one of your favorite DIY tech projects. For more smart home tech guides, be sure to check out our picks for the best smart locks of 2025. Want to explore more Pi-powered builds? Stay tuned to Digi-DIY for even more hands-on tutorials and gear reviews!
